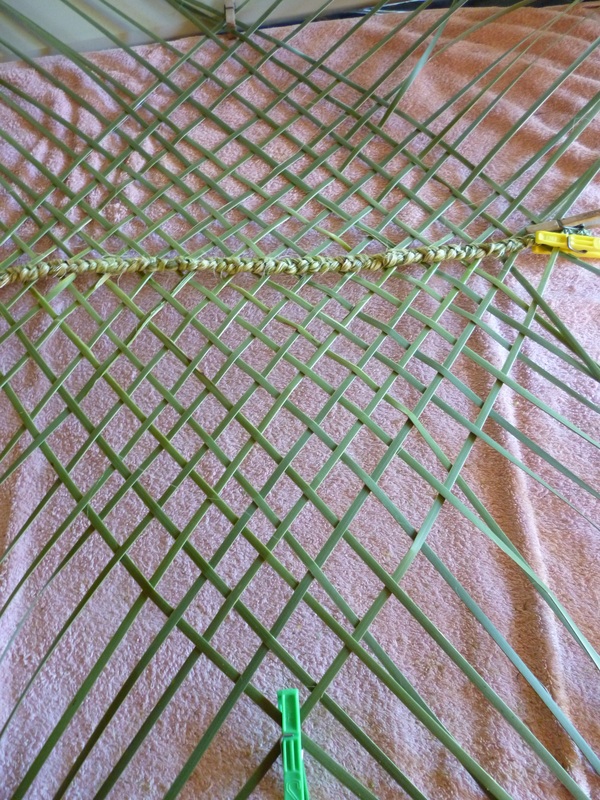
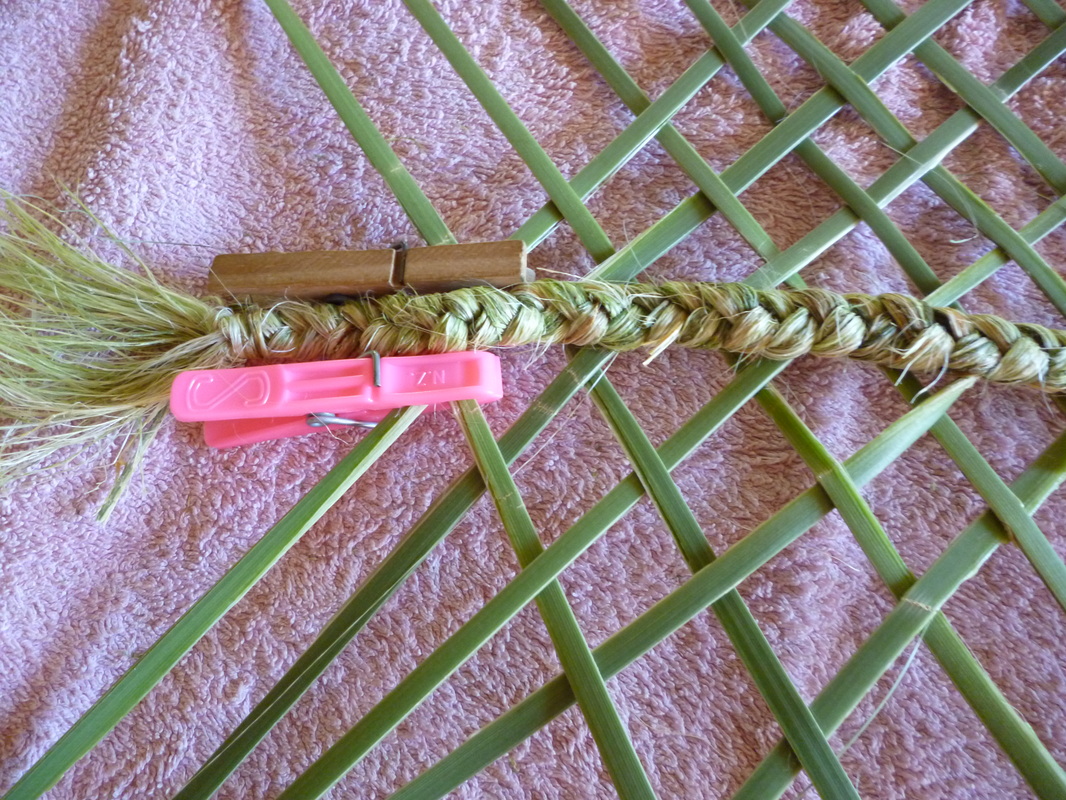
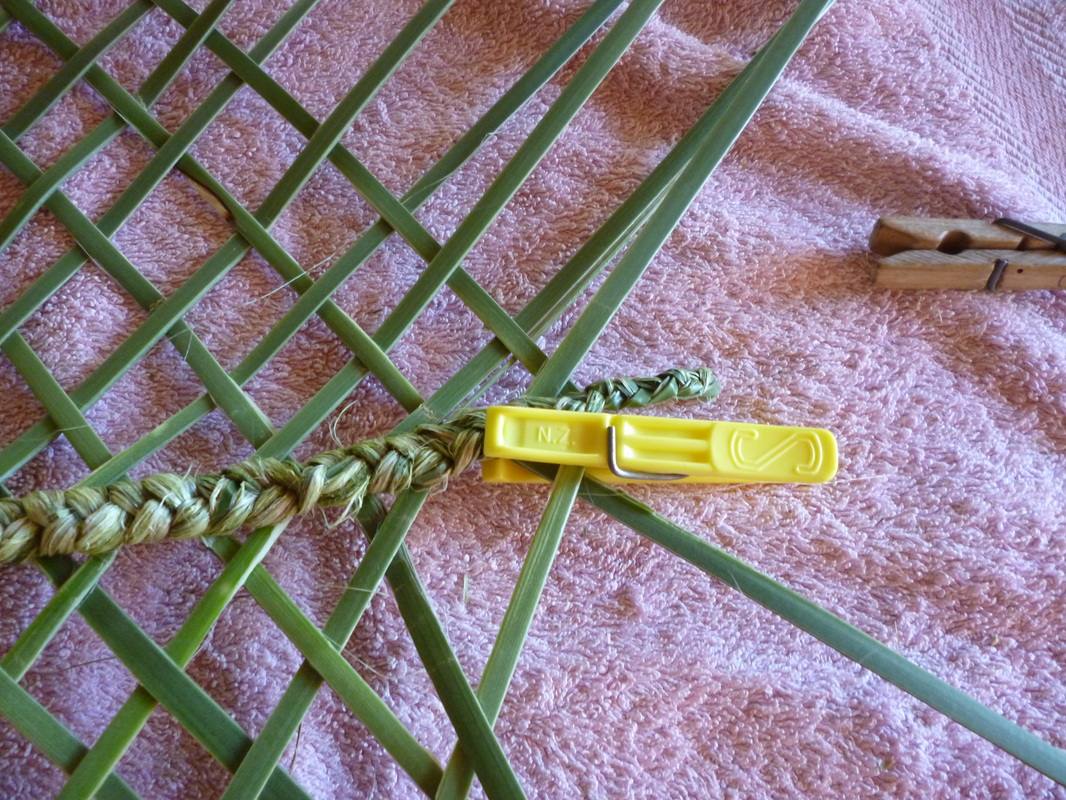
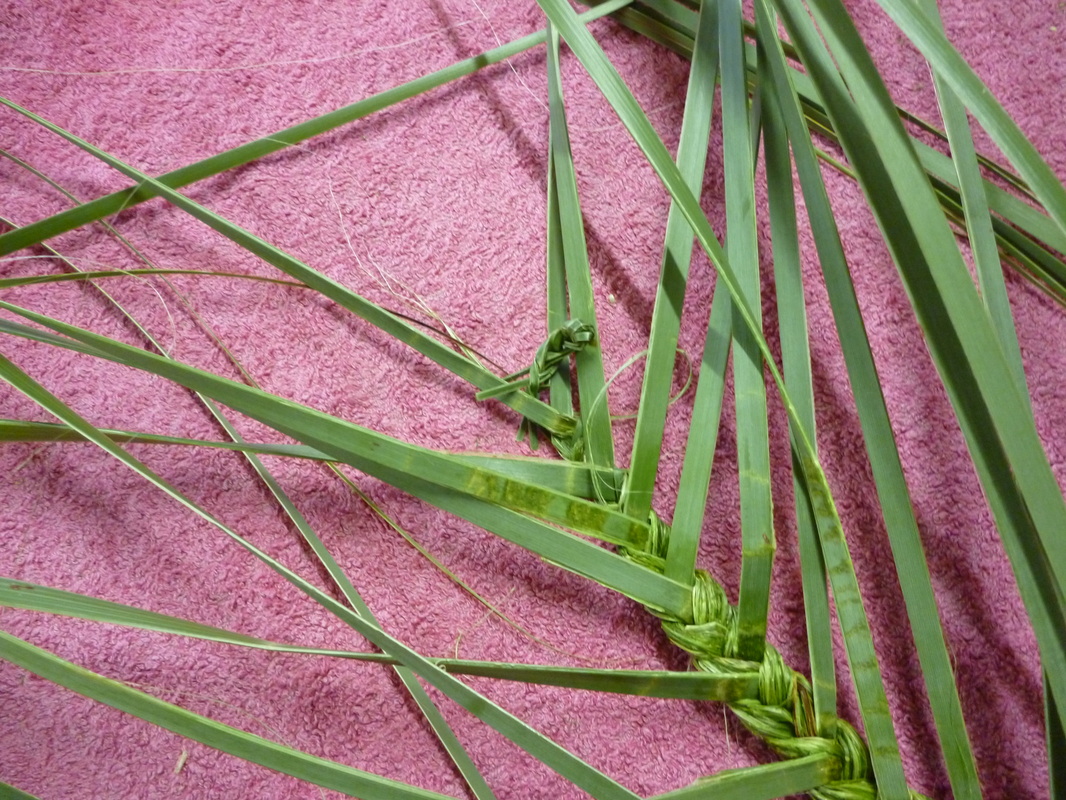
Once you have plaited the centre whiri, then turn the end of the plait to the left (mid photo below) and weave on a taki tahi way all the way to a triangle, whenu with under side up. First whenu to the right, 2nd whenu to the left but under the first one.
Turn around and do the other side also with the end of the plait facing left (see left photo below). Fold in a half when done and start weaving the sides in a taki tahi way. (One over and one under). Once woven to the correct height, make then do a one up, one down and decide how you will finish the top. 
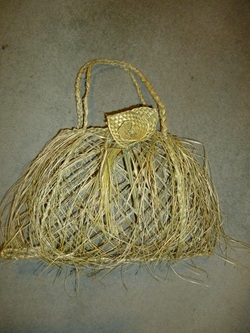
An example on the left.
2 Comments
Decided to have a go at kete kumara again after at least two years as I had been so involved in finishing my degree last year. Hard to remember at first as notes were missing one or two details. Anyway went ahead and did it and have made two in the past two days, photos not available yet as I am still trying to get them to dry to my needs. However I have decided to take photos and enter how to make it in here as my book is a bit covered with coffee. Not guilty. The photo on the left is one of the kete kumara style kete I have made. Usually kete kumara don't have handles as they are used for storage Below the description on how to start them, further instructions later, this is what it should look like before you start. |
AuthorI am an artist and live on the Kapiti Coast. Presently I am completing a Bachelor of Maori Visual Art (Raranga). I work mainly with textiles (includes Raranga which is weaving with flax), clay and paint in pastels and weatercolours. Categories
All
Archives
September 2017
|